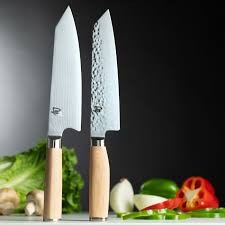
GET TO KNOW YOUR KNIFE

By : chef ssentongo
From : Get Easy Recipes and Cook Smart
“Get to Know Your Knife” – A Guide to Understanding and Using Your Knife Effectively
A good knife is one of the most essential tools in the kitchen (or outdoors). To use it safely and efficiently, you need to understand its parts, types, and maintenance. Here’s a breakdown:
1. Parts of a Knife
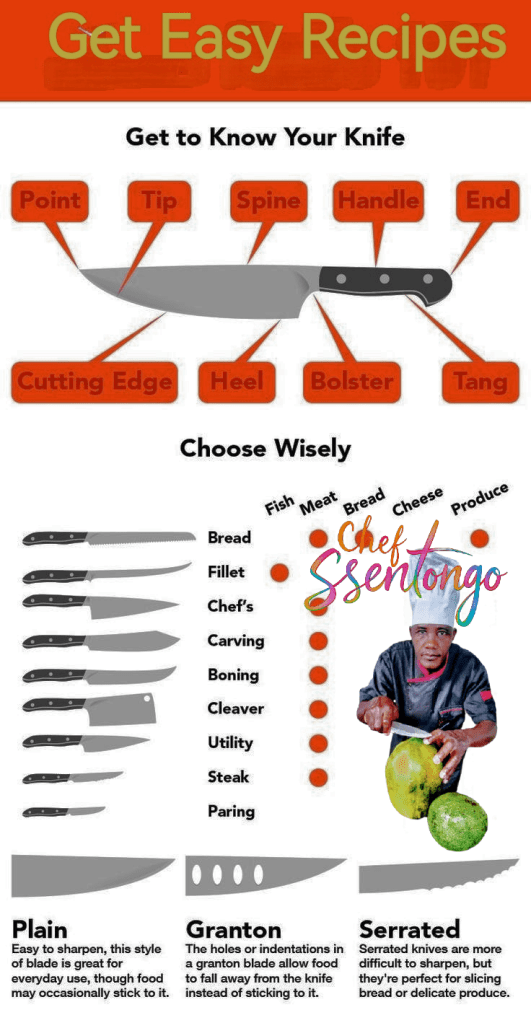
- Blade – The cutting part (can be stainless steel, high-carbon steel, or ceramic).
- Edge – The sharpened side of the blade (straight, serrated, or hollow).
- Spine – The blunt top side of the blade (thicker spines add weight for chopping).
- Tip – The front pointed end (used for precision work).
- Heel – The rear part of the blade (used for tough cuts).
- Tang – The metal extension into the handle (full tang = more durability).
- Handle – The grip (wood, plastic, or composite materials).
- Bolster – The thick junction between blade and handle (improves balance).
- Rivets – Fasteners securing the handle scales (if applicable).
2. Common Knife Types & Uses
- Chef’s Knife (8-10″) – Versatile for chopping, slicing, dicing.
- Paring Knife (3-4″) – Precision tasks like peeling, trimming.
- Bread Knife (Serrated) – Cuts crusty bread without crushing.
- Utility Knife (5-7″) – Mid-sized for smaller slicing tasks.
- Boning Knife (Flexible) – Deboning meat and poultry.
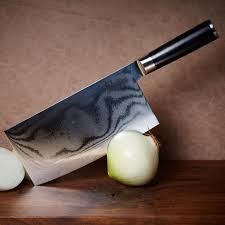
- Cleaver (Heavy) – Chopping bones or dense veggies.
- Santoku Knife (Japanese) – Lightweight, great for slicing veggies/fish.
3. Knife Care & Safety Tips
✔ Sharpening – Use a whetstone (20° angle for Western knives, 15° for Japanese).
✔ Honing – Use a honing rod regularly to realign the edge.
✔ Cleaning – Hand-wash and dry immediately (no dishwasher!).
✔ Storage – Use a knife block, magnetic strip, or blade guard.
✔ Cutting Surface – Wood or plastic boards (avoid glass/metal).
⚠ Safety – Always cut away from yourself, keep fingers curled (claw grip).
4. How to Choose the Right Knife
- Comfort – The handle should feel secure in your grip.
- Balance – The weight should feel even between blade and handle.
- Purpose – Match the knife to your most common tasks.
Final Thought
A well-maintained, high-quality knife makes cooking easier and safer. Invest in a good chef’s knife, keep it sharp, and learn proper techniques!
Would you like recommendations for specific knives or cutting techniques? 🔪
HOW TO WRITE RECIPE FOR A CHEESE BURGER AND STEAK STEP BY STEP GUIDE
Here’s a step-by-step guide to writing a clear, well-structured recipe for a Cheeseburger and Steak. This format ensures readability and ease of following instructions.
Classic Cheeseburger & Steak Recipe
Prep Time: 20 mins | Cook Time: 15 mins | Servings: 2
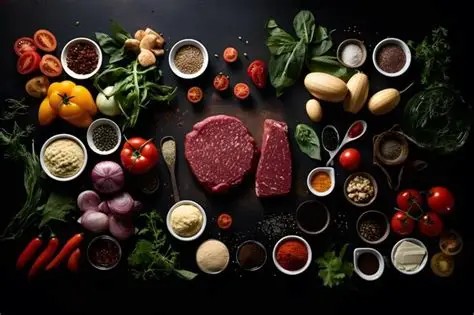
Ingredients:
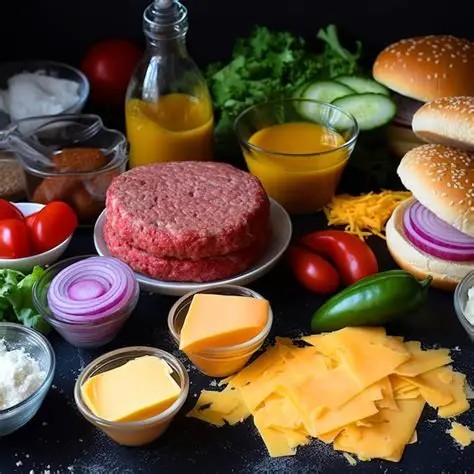
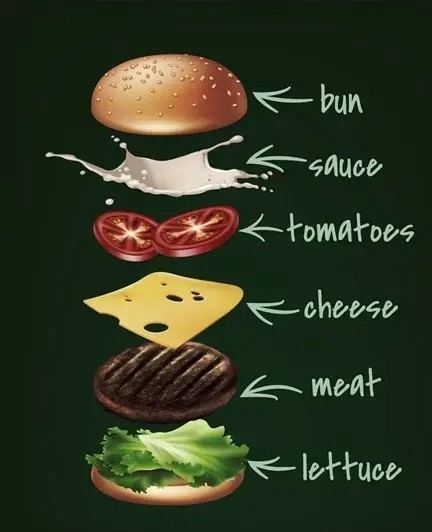
For the Cheeseburger:
- ½ lb (225g) ground beef (80/20 lean-to-fat ratio)
- 2 hamburger buns (brioche or sesame)
- 2 slices cheddar cheese (or American cheese)
- Salt & black pepper (to taste)
- 1 tbsp butter (for toasting buns)
- Optional toppings: lettuce, tomato, onion, pickles, ketchup, mustard
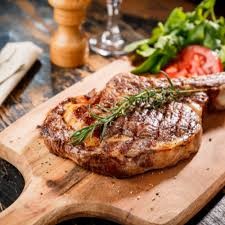
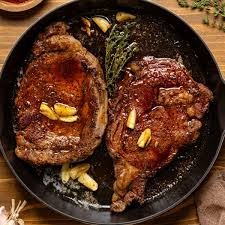
For the Steak:

- 1 ribeye or sirloin steak (8-10 oz / 225-280g, 1-inch thick)
- 1 tbsp olive oil
- 1 tsp salt
- ½ tsp black pepper
- 1 tsp garlic powder (optional)
- 2 tbsp butter (for basting)
- 2 sprigs fresh thyme or rosemary (optional)
Step-by-Step Instructions:
1. Prepare the Steak:
- Step 1: Take the steak out of the fridge 30 mins before cooking to bring to room temp.
- Step 2: Pat dry with paper towels, then season both sides with salt, pepper, and garlic powder.
- Step 3: Heat a cast-iron skillet over high heat until smoking. Add olive oil.
- Step 4: Sear steak for 3-4 mins per side for medium-rare (adjust for preference).
- Step 5: In the last 2 mins, add butter and herbs, tilt pan, and baste the steak.
- Step 6: Remove steak, let rest 5-10 mins before slicing.
2. Make the Cheeseburger:

- Step 1: Divide ground beef into two equal patties (lightly packed, slightly larger than the bun).
- Step 2: Make a small dimple in the center of each patty to prevent bulging.
- Step 3: Season both sides generously with salt and pepper.
- Step 4: Heat a grill or skillet over medium-high heat. Cook patties 3-4 mins per side.
- Step 5: In the last minute, add cheese on top and cover to melt.
- Step 6: Toast buns lightly with butter in the same pan.
3. Assemble & Serve:
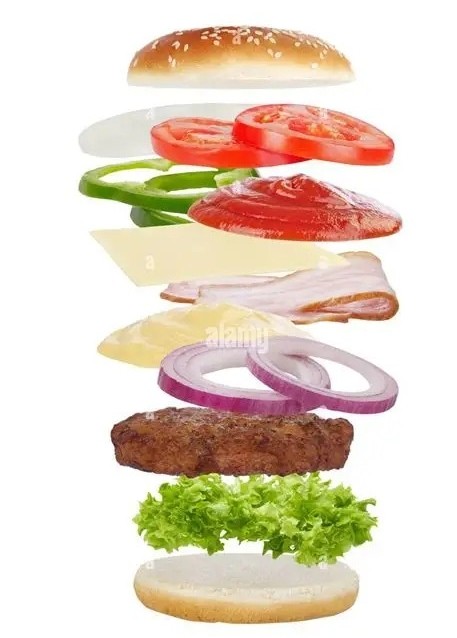
- Step 1: Place the cheeseburger patty on the bottom bun.
- Step 2: Add preferred toppings (lettuce, tomato, onion, sauces).
- Step 3: Top with the other bun half.
- Step 4: Slice the rested steak against the grain.
- Step 5: Serve the cheeseburger with steak on the side (or slice steak over fries for a “burger steak bowl”).
Tips for Success:
🔥 Steak Doneness Guide:
- Rare: 120°F (49°C)
- Medium-rare: 130°F (54°C)
- Medium: 140°F (60°C)
🍔 Burger Tips:
- Don’t overwork the meat—keep patties loose for juiciness.
- For extra flavor, mix Worcestershire sauce or minced garlic into the beef.
Final Presentation:
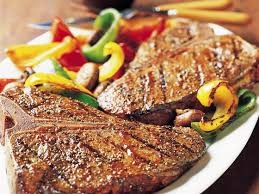
Pair with crispy fries, a side salad, or a cold beer!
Would you like a fancier gourmet version (e.g., blue cheese burger + garlic butter steak) or cooking visuals? 😊

Leave a comment