
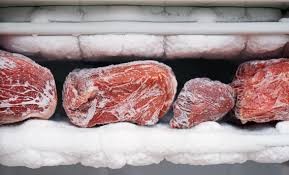
How Long Does Meat Last in the Freezer? (Full Guide)

By :chef ssentongo
Freezing meat is a great way to extend its shelf life, but different types last longer than others. Here’s a breakdown of how long common meats stay fresh in the freezer:
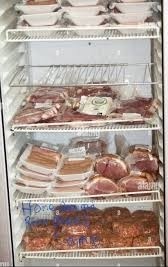
General Freezing Guidelines
- Store at 0°F (-18°C) or below for best quality.
- Use airtight packaging (vacuum-sealed, freezer bags, or heavy-duty foil) to prevent freezer burn.
- Label with dates to track storage time.
Freezer Shelf Life of Different Meats
Meat TypeFreezer Life (Best Quality)Safe Beyond (But Lower Quality)Beef (Steaks, Roasts) 6–12 months Up to 12–18 months Ground Beef / Hamburger 3–4 months Up to 6 months Chicken (Whole, Pieces) 9–12 months Up to 12–18 months Turkey (Whole, Parts) 6–9 months Up to 12 months Pork (Chops, Roasts) 4–6 months Up to 12 months Lamb (Chops, Roasts) 6–9 months Up to 12 months Fish (Lean: Cod, Tilapia) 6–8 months Up to 12 months Fish (Fatty: Salmon, Tuna) 2–3 months Up to 6 months Bacon 1–2 months Up to 3–4 months Sausages (Raw) 1–2 months Up to 3–4 months Hot Dogs (Unopened) 1–2 months Up to 3–4 months Cooked Meat (Leftovers) 2–3 months Up to 4–6 months
Signs Meat Has Gone Bad (Even Frozen)
❌ Freezer burn (grayish-white patches, dry texture)
❌ Off smells (sour or rancid odor after thawing)
❌ Ice crystals or discoloration
Best Thawing Methods
✔ Fridge (Safest) – Slow thawing (24+ hours for large cuts).
✔ Cold Water Bath – Faster (sealed bag, change water every 30 mins).
✔ Microwave (For Immediate Use) – Use “defrost” setting.
Pro Tip: For long-term storage, vacuum-sealing can extend freezer life by reducing air exposure.
Would you like tips on how to freeze meat properly to avoid freezer burn?
10 Pro Home Cooking Tips to Elevate Your Meals

Cooking at home can be simple, delicious, and even gourmet with the right techniques. Here are 10 professional tips to help you cook like a chef in your own kitchen:
1. Sharpen Your Knives Regularly
- A sharp knife is safer and makes prep work faster. Use a honing rod or whetstone often.
2. Taste as You Cook
- Adjust seasoning (salt, spices, acidity) gradually instead of all at the end.
3. Preheat Your Pan Properly
- A hot pan ensures better searing and prevents food from sticking. Test with a drop of water—if it sizzles, it’s ready.
4. Use Salt Correctly
- Salt meat in advance (30+ mins before cooking) for deeper flavor.
- Salt pasta water like the sea (about 1-2 tbsp per quart).
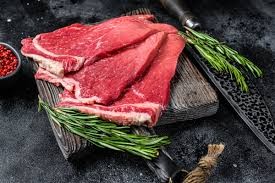
5. Let Meat Rest After Cooking
- Allow steaks, chicken, and roasts to rest for 5-10 minutes before cutting to retain juices.
6. Master the Maillard Reaction
- Browning = flavor! Pat meat dry before searing and avoid overcrowding the pan.
7. Balance Flavors
- If a dish tastes flat, add a splash of acid (lemon juice, vinegar) or a pinch of sugar to brighten it up.
8. Cook Pasta Al Dente
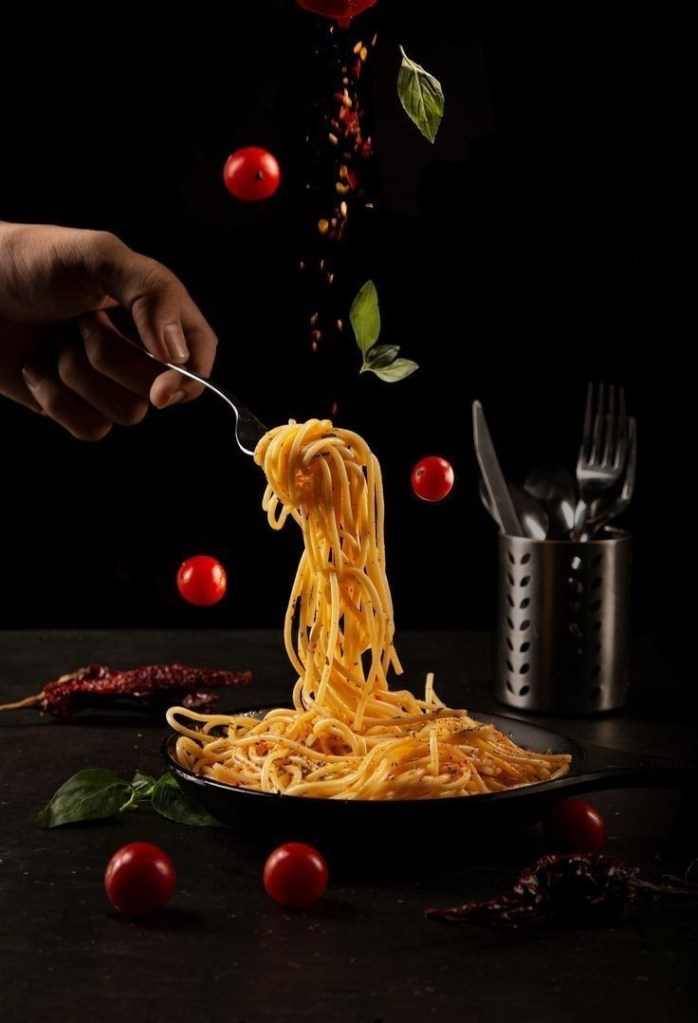
- It should have a slight bite. Drain 1-2 minutes before the package says, then finish in the sauce.
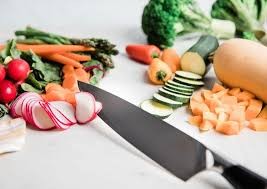
9. Use Fresh Herbs & Aromatics
- Add delicate herbs (basil, cilantro) at the end; hardy ones (rosemary, thyme) early.
- Sauté garlic & ginger on low heat to avoid bitterness.
10. Keep Your Workspace Organized (Mise en Place)

- Prep all ingredients before cooking to avoid burning or overcooking while chopping.
With these pro tips, your home-cooked meals will taste restaurant-quality! 🍳🔥
What’s your biggest cooking challenge? Let me know—I can help!
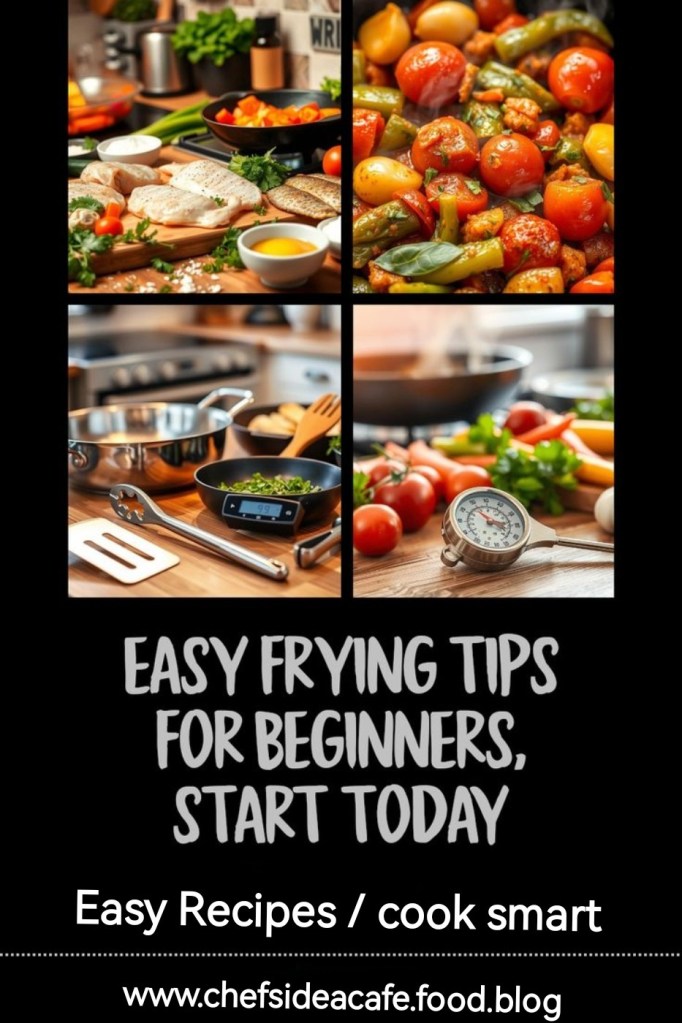
5 Easy Frying Tips For Beginners
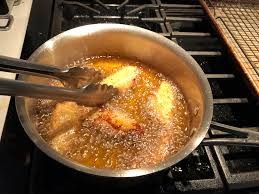
Frying food can be intimidating for beginners, but with the right techniques, you can achieve crispy, delicious results every time. Here are five simple tips to help you get started:
1. Use the Right Oil & Temperature
- Choose oils with a high smoke point (like vegetable, canola, or peanut oil).
- Heat oil to the right temperature (usually 350°F–375°F / 175°C–190°C). Too cold = soggy food; too hot = burnt outside, raw inside.
- Test with a wooden spoon—if bubbles form around it, it’s ready.
2. Dry Your Ingredients Before Frying
- Pat meat, fish, or veggies dry with paper towels to prevent oil splatters and ensure crispiness.
- Wet food causes steam, leading to uneven frying.
3. Don’t Overcrowd the Pan
- Frying too much at once lowers the oil temperature, making food greasy.
- Fry in small batches for even cooking.
4. Season Immediately After Frying
- Sprinkle salt or seasoning on food right after it comes out of the oil for better flavor absorption.
5. Drain Excess Oil Properly
- Place fried food on a wire rack or paper towels to drain excess oil and keep it crispy.
With these tips, you’ll master frying in no time! Happy cooking! 🍳🔥

Leave a comment