ADVANTAGES AND DISADVANTAGES OF PERSONAL CHEF OR PRIVATE CHEF WHO IS BETTER
By: chef ssentongo
Choosing between a personal chef and a private chef depends on your lifestyle, budget, and culinary needs. Here’s a breakdown of their advantages and disadvantages to help you decide which is better for you.
Personal Chef
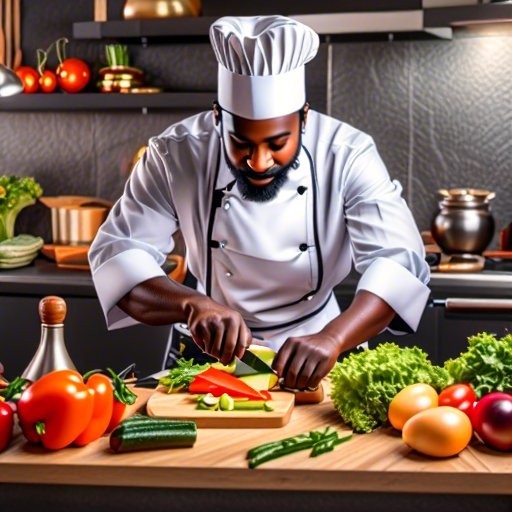
A personal chef typically cooks for multiple clients, preparing meals in advance or on a scheduled basis (e.g., weekly or monthly).
✅ Advantages:
- More Affordable – Since they serve multiple clients, their fees are lower than a full-time private chef.
- Customized Meals – They tailor menus to your dietary preferences (keto, vegan, gluten-free, etc.).
- Meal Prep Convenience – They batch-cook meals, saving you time on cooking and grocery shopping.
- Flexible Scheduling – You can book them weekly, bi-weekly, or as needed.
- No Long-Term Commitment – Pay per service rather than a salary.
❌ Disadvantages:
- Not Always Available – They may have other clients, so last-minute requests can be tricky.
- Less Personalized Attention – Since they split time between clients, they may not learn your exact tastes as deeply.
- Limited On-Demand Cooking – They usually prepare meals in advance, not fresh daily.
Best For: Busy professionals, families, or those who want healthy prepped meals without daily cooking.
Private Chef

A private chef works exclusively for one household, often full-time or part-time, handling daily meals and special requests.
✅ Advantages:
- Dedicated Service – They focus solely on your household’s needs, learning your exact tastes.
- Fresh, On-Demand Meals – They cook daily, adjusting meals based on your schedule and cravings.
- More Control Over Ingredients – They shop for you and ensure high-quality, personalized dishes.
- Special Occasions & Dietary Needs – Great for elaborate dinners, dietary restrictions, or gourmet experiences.
- Time-Saving – No meal planning, grocery shopping, or cleanup for you.
❌ Disadvantages:
- Expensive – Requires a full-time salary (often $50K–$100K+ per year, depending on experience).
- Long-Term Commitment – Usually hired on a contract basis (months or years).
- Less Flexibility – If you travel often or eat out frequently, their services may go underutilized.
Best For: High-net-worth individuals, large families, celebrities, or those who prioritize gourmet dining daily.
Which Is Better?
FactorPersonal Chef ✅ Private Chef 💎 Cost More affordable Expensive Availability Scheduled visits Full-time service Customization Good Excellent Fresh Meals Prepped in advance Cooked daily Commitment No long-term contract Usually long-term
- Choose a Personal Chef if you want cost-effective, flexible meal prep without daily cooking.
- Choose a Private Chef if you demand gourmet meals daily and can afford exclusive service.
Ultimately, the “better” option depends on your budget and how often you want a chef’s services! 🍽️
HOW TO BUILD A NOURITH BOWL RECIPE
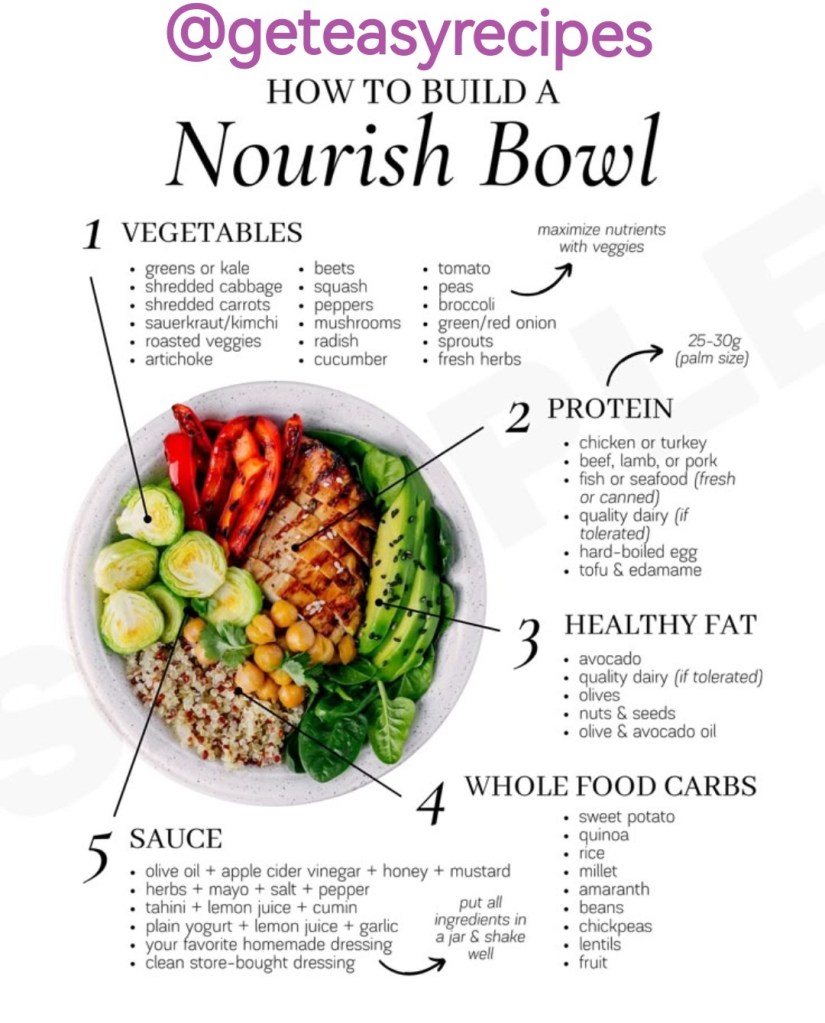
Here’s a comprehensive guide to building a nourish bowl, inspired by various recipes and tips from the search results:
1. Choose Your Base
Start with a nutrient-dense foundation:
- Grains: Quinoa, farro, brown rice, wild rice, or couscous .
- Greens: Baby spinach, kale, arugula, or mixed salad greens .
- Alternative bases: Cauliflower rice or roasted sweet potatoes for a grain-free option .
2. Add Roasted or Raw Vegetables
Mix textures and flavors:
- Roasted veggies: Sweet potatoes, cauliflower, broccoli, or green beans (tossed with olive oil, salt, and spices) .
- Raw veggies: Cucumbers, tomatoes, bell peppers, or shredded carrots .
- Pickled additions: Red onions, radishes, or cabbage for tanginess .
3. Include Protein
Opt for plant-based or animal-based proteins:
- Plant-based: Chickpeas, lentils, tofu, tempeh, or butter beans (marinated for extra flavor) .
- Animal-based: Grilled chicken, rotisserie chicken, salmon, or hard-boiled eggs .
4. Incorporate Healthy Fats & Crunch
Add richness and texture:
- Creamy elements: Avocado, goat cheese, feta, or hummus .
- Crunchy toppings: Pumpkin seeds, walnuts, almonds, or crispy chickpeas .
5. Drizzle with a Flavorful Sauce
Tie everything together with a dressing:
- Creamy options: Tahini dressing, lemon vinaigrette, or green goddess .
- Spicy/sweet: Hot honey mustard or balsamic glaze .
- Quick tip: Blend dressings for smoothness (e.g., hummus thinned with lemon juice) .
6. Customize for Dietary Needs
- Vegan: Swap honey for maple syrup or agave .
- Gluten-free: Use quinoa or rice instead of farro .
- Meal prep: Store components separately; assemble before eating to maintain freshness .
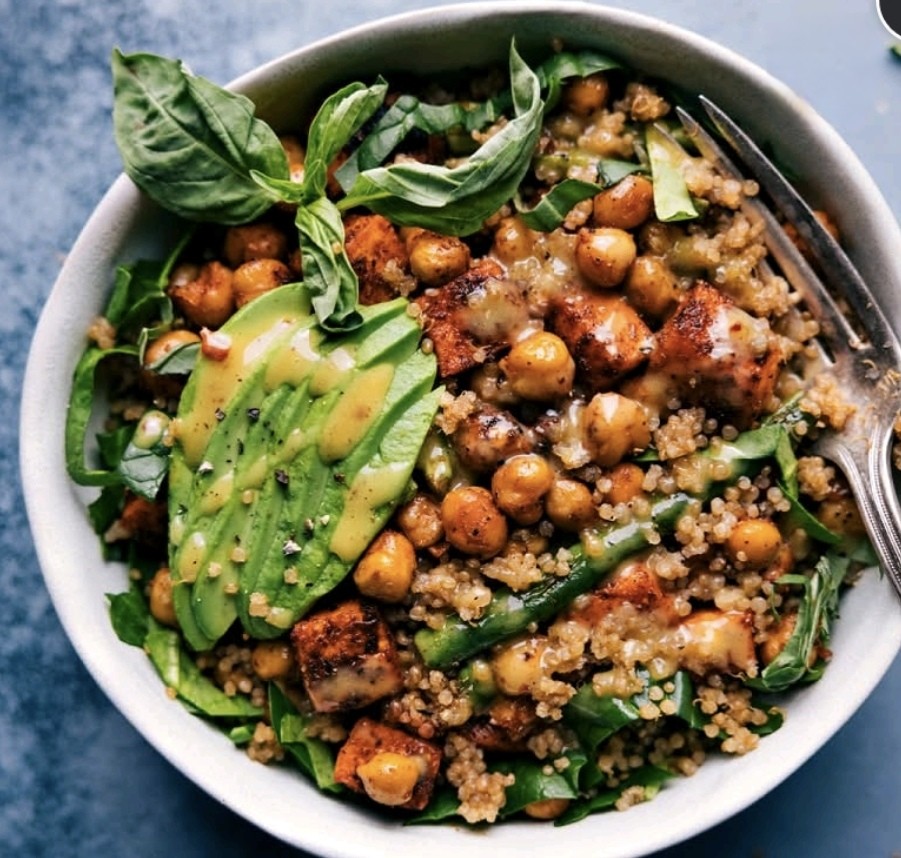
Sample Combinations
- Mediterranean: Quinoa + roasted cauliflower + chickpeas + olives + feta + tahini dressing .
- Tex-Mex: Brown rice + black beans + roasted sweet potato + avocado + chipotle dressing .
- Asian-inspired: Rice noodles + almond butter tofu + shredded cabbage + peanut sauce .
Pro Tips
- Roasting veggies: Spread them evenly on a large pan to avoid steaming .
- Shortcuts: Use pre-cooked grains, bagged greens, or store-bought dressings .
For detailed recipes, ask . Happy bowl-building!
HOW TO MAKE CLASSIC DOUGHNUT AT HOME RECIPE, STEP BY STEP GUIDE

Here’s a step-by-step guide to making classic homemade doughnuts (both yeast-raised and cake-style) with simple ingredients. These doughnuts are soft, fluffy, and perfect for glazing or coating in sugar.
Classic Yeast-Raised Doughnuts
(Light, airy, and slightly chewy—like bakery-style doughnuts)
Ingredients
- 3 ½ cups (440g) all-purpose flour (plus extra for dusting)
- ¼ cup (50g) granulated sugar
- 1 packet (7g) active dry yeast
- ½ tsp salt
- ¾ cup (180ml) warm milk (about 110°F/43°C)
- 2 large eggs (room temperature)
- ¼ cup (56g) unsalted butter, melted
- 1 tsp vanilla extract
- Oil for frying (vegetable, canola, or peanut oil)
Instructions
1. Activate the Yeast
- In a bowl, mix warm milk, 1 tsp sugar, and yeast. Let sit for 5–10 mins until foamy.
2. Make the Dough
- In a large bowl, whisk flour, remaining sugar, and salt.
- Add yeast mixture, eggs, melted butter, and vanilla.
- Mix until a shaggy dough forms, then knead (by hand or mixer) for 5–7 mins until smooth and elastic.
3. First Rise
- Place dough in a greased bowl, cover with a towel, and let rise for 1–1.5 hours (or until doubled).
4. Shape the Doughnuts
- Roll dough to ½-inch thickness on a floured surface.
- Use a 3-inch doughnut cutter (or a glass + bottle cap for holes) to cut shapes.
- Place on parchment paper, cover, and let rise 30–45 mins until puffy.
5. Fry the Doughnuts
- Heat 2–3 inches of oil to 350–375°F (175–190°C) in a deep pot.
- Fry 2–3 doughnuts at a time for 1–2 mins per side until golden.
- Drain on a wire rack or paper towels.
6. Glaze or Coat
- Classic Glaze: Mix 2 cups powdered sugar + ¼ cup milk + 1 tsp vanilla. Dip warm doughnuts.
- Cinnamon Sugar: Toss in ½ cup sugar + 1 tbsp cinnamon while still warm.
Classic Cake Doughnuts

(Denser, slightly crumbly, and quicker to make—no yeast needed!)
Ingredients
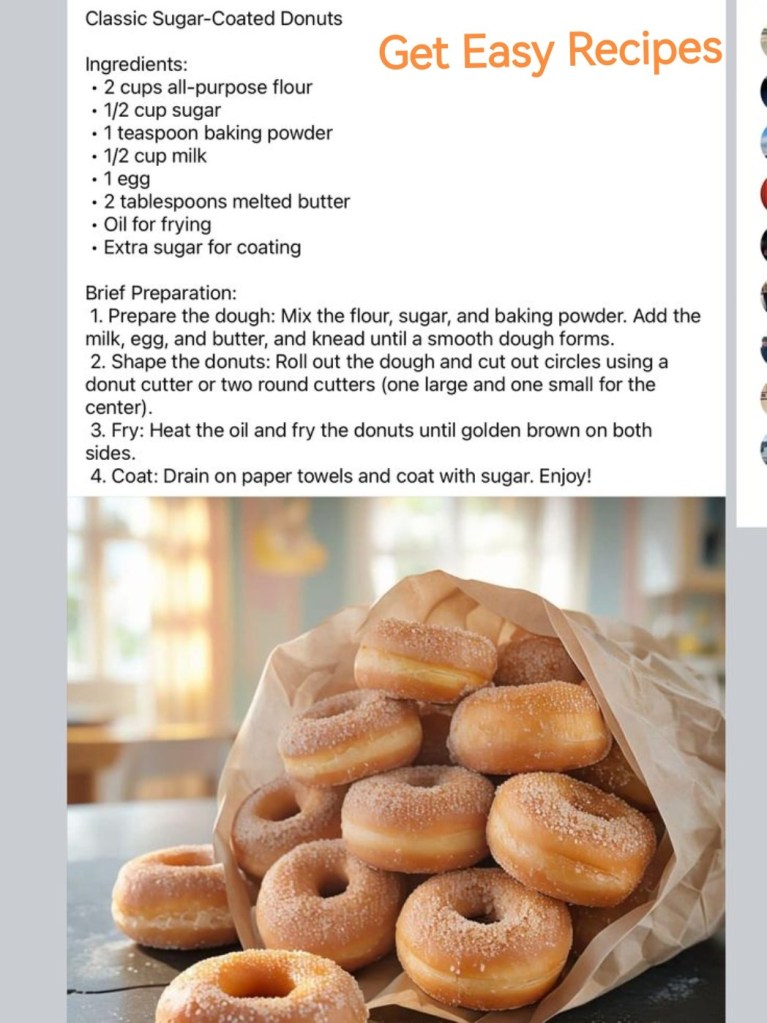
- 2 cups (250g) all-purpose flour
- ½ cup (100g) granulated sugar
- 2 tsp baking powder
- ½ tsp salt
- ½ tsp nutmeg or cinnamon (optional)
- 1 large egg
- ½ cup (120ml) milk
- 2 tbsp (28g) melted butter
- 1 tsp vanilla extract
Instructions
- Whisk dry ingredients (flour, sugar, baking powder, salt, spice).
- Mix wet ingredients (egg, milk, butter, vanilla), then combine with dry ingredients.
- Roll dough to ½-inch thickness, cut shapes, and fry as above (2 mins per side).
Tips for Success
✅ Oil temperature is key: Use a thermometer to maintain 350–375°F (too cold = greasy, too hot = burnt outside/raw inside).
✅ Don’t overcrowd the pot: Fry in batches to avoid oil cooling.
✅ Fillings or toppings: Inject jam with a piping bag, or drizzle with chocolate.
✅ Storage: Best eaten fresh, but keep in an airtight container for 1–2 days.
Enjoy your homemade doughnuts! 🍩


Leave a comment